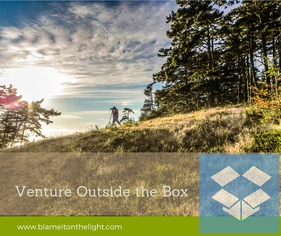
 Sometimes we get stuck inside a box (a routine), mainly because we are comfortable with what is. In order to grow, we need to once in a while step outside our comfort zone...outside our box.
Photographers tend to focus (pun intended) on one or two types of photography. When we teach a workshop, we like to encourage people to learn something different. Instead of taking a wildlife class again, try a macro class. In our, Art of Focus workshop with Sally Halvorsen, two of the students were nature photographers. After the workshop, one of the them commented about how different and challenging the workshop was. In nature photography (mostly birds) she was always told to make her images as sharp as possible, in Sally's class she was given creative freedom (and encouraged) to blur her images. It was like a left-brain, right-brain challenge for her. Yet, when the class was over she saw the advantage of what she learned and how she could apply it to what she really loves—bird photography. What happens when you step out of your comfort zone?
Explore! Experiment! And, as Tony Locke says, "Repeat." Try something new. Learn something new. Create something new.
0 Comments
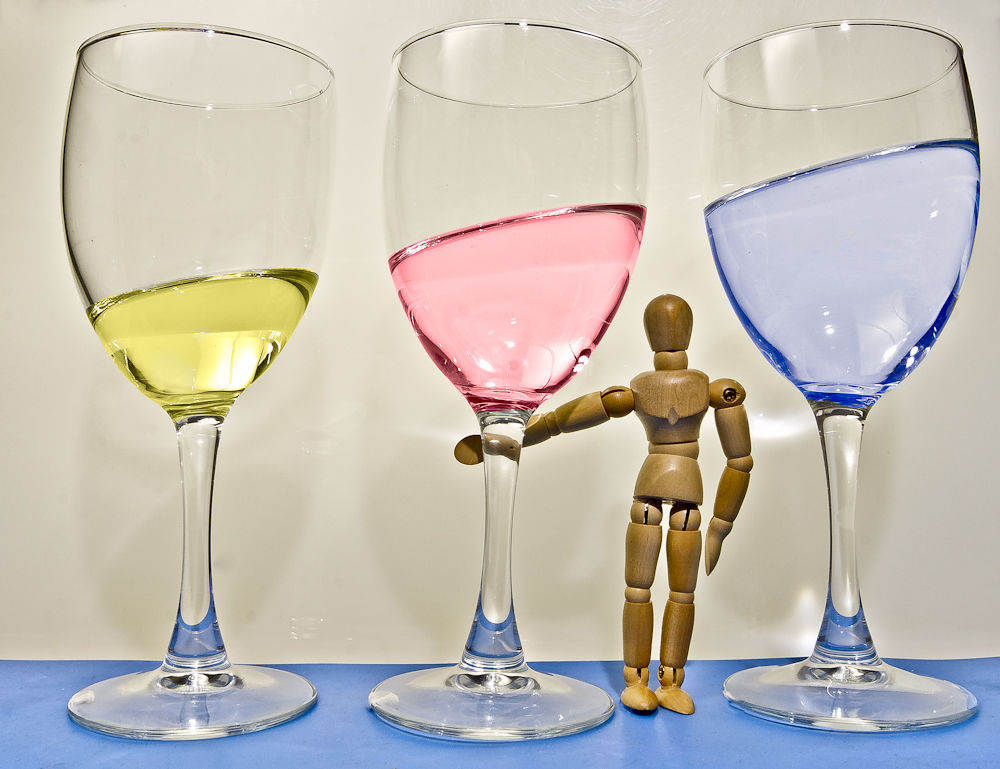 Here’s one for my “How’d He Do That” series of posts for today To continue learning photography, sometimes you need to take on new challenges. As a catalyst to egg me on, I look for something different to photograph. I check out other creative photographers and what they are doing, Then I may use those ideas as a creative inspiration base to start with, add a little of my (sometimes warped) imagination and there ya go— my next project experiment. I have seen this trick done several times over the years and added it to my I'll have to learn that some day list. And one rainy afternoon, I decided it was time to try it out. 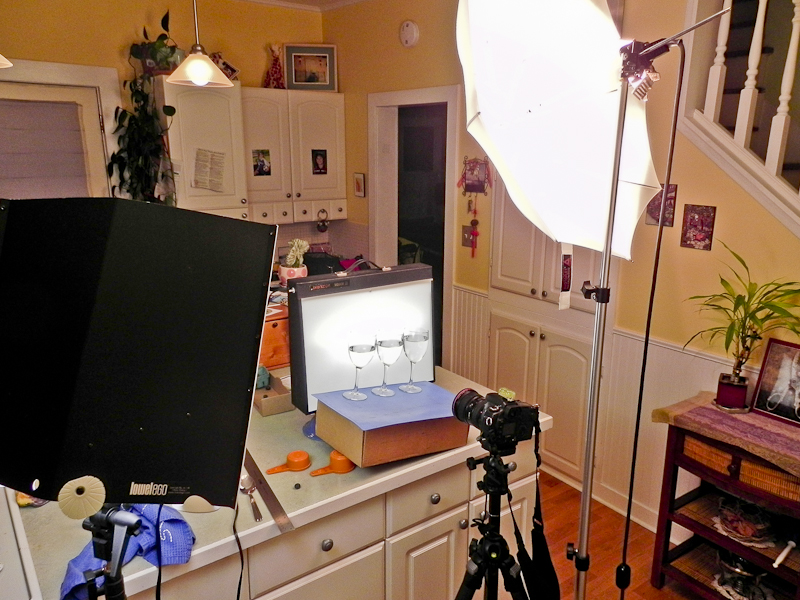 So, How'd I do that? This photo shows the main set-up. Before you start adding water to the glasses, get everything else in place. Experiment with placements, angles, and lights. Do all of this before you start tilting the platform the glasses are sitting on. I spent a good part of the evening just trying to figure out the best placement of lights, including the light-table I used as a backdrop. Turns out, it was a bit smaller than I needed, so I had to get the glasses as close to it as possible so that edges didn't show. The rest of time was spent moving things around, take a shot, look at the screen, then adjust as necessary—the props/lights/camera settings. Then shoot again, look at the screen, repeat as necessary. Geez, I am glad we shoot digital now. Being able to see instant results sure sped up the experimental phase. What I was aiming for was even lighting with the fewest reflections possible, especially bright spots in the glass. I didn't have any soft-boxes, so I had to make due with what I had. Once comfortable with the set-up, it is time to start tilting the platform which the glasses are on. My first set of test shots didn't have enough of an angle for what I wanted, so I had to tilt a bit more. I used a cardboard box with a rubber placemat on top. You will notice on the side of the box, a couple of measuring cups I used as 'technical spacers' to hold the box at the angle I wanted. To get the light-table up to the the proper height, I sat the light on a couple of cereal bowls. I used a ruler to measure the proper spacing of the glasses. And very important—a towel—not only for possible spills, but to also clean fingerprints off the glass and water spots during the shoot. The glasses and my little wooden helper, have a small dab of artist putty stuck to the bottom of them to help keep them in place. After everything is placed at its proper angle, it was a matter of tilting the camera so that it was parallel and square with the glasses and platform. Again, a ruler helped here too, make sure you're square from left to right also. Now add the water. I used a small pitcher which allowed me to pour a bit more accurately, with less spills and splashing. From there, it took some experimenting as too how much water was needed. Making sure each glass had slightly more water than the glass to the left. Keep that towel handy, as you're going to need to dab out water spots. After each step I would fire off a couple shots, just in case it all came crashing down. Tweak the lights as needed, play some more and shoot some more. As for the colored water? I was going to use food coloring, but since I didn't have any, I added the colors in Photoshop afterwards, a lesson for another day. For those of you already somewhat comfortable in PS, a quick clue; choose the color you would like, make a new layer, get a brush with a slightly soft edge setting, change the layer's Blend Mode from normal to color and carefully paint the water. If you paint outside the lines just quickly hit the E key, for the Eraser, tidy up your mistake and hit the B key to get back to your brush. Play with the layer’s Opacity as needed. Enjoy, experiment, have fun, Tony 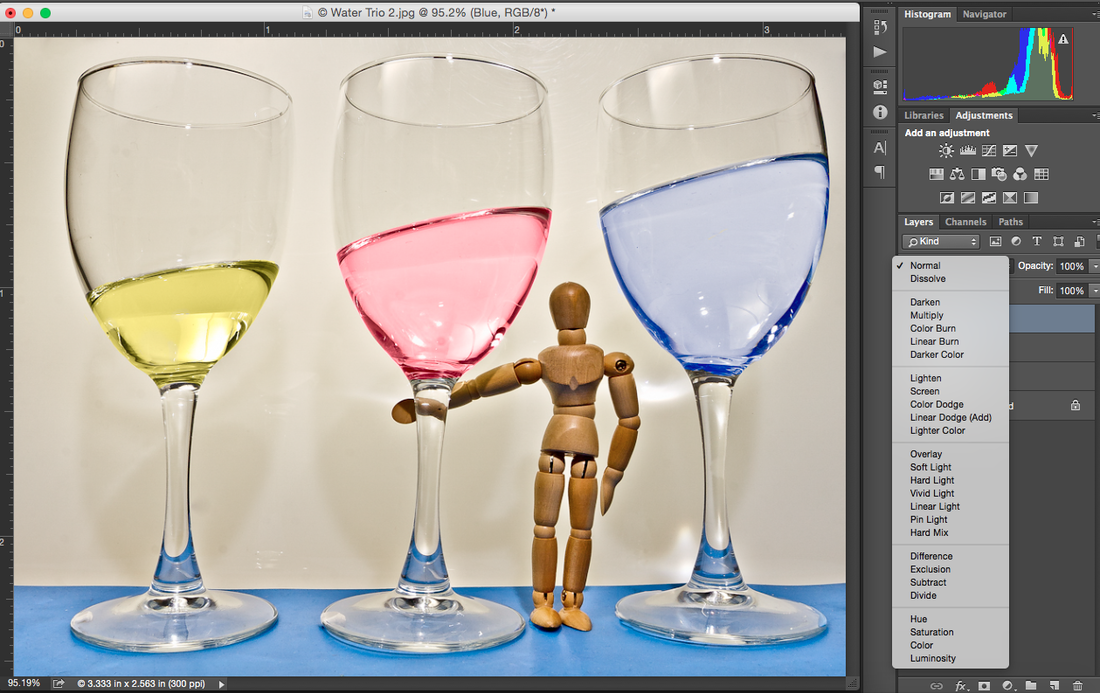 |
AuthorPhotography and photographers... A look at both. Blame it on the light. Archives
June 2017
Categories
All
|
 RSS Feed