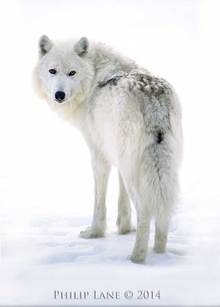
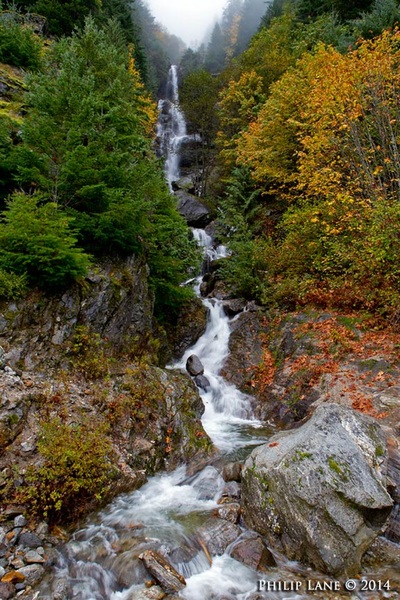
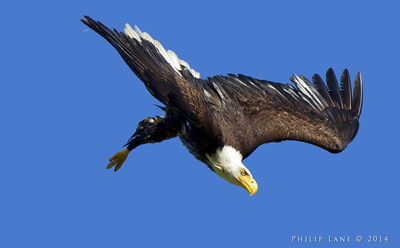
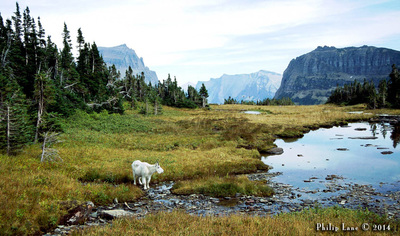
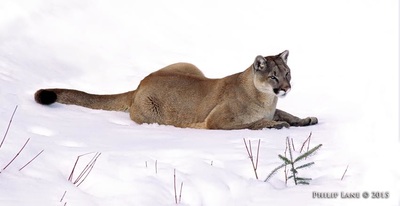
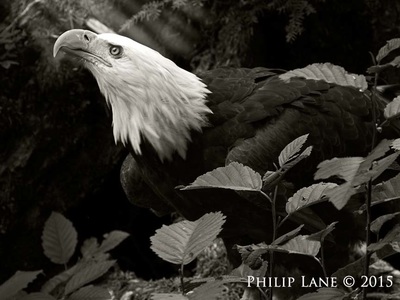
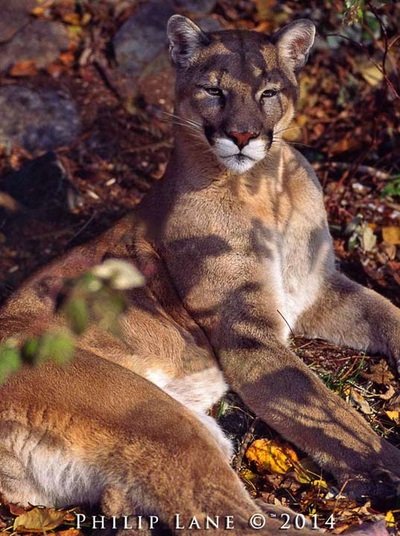
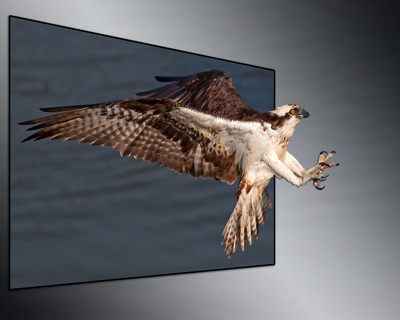
 by Karla Locke An interview with wildlife photographer, Phil Lane. Why wildlife? Photographing Nature and Wildlife makes me feel connected with the earth on a very personal and profound level. Some feel this when they are in church or a place of worship. What was your first wildlife photograph? My god I can’t remember that far back LOL ; ) Your favorite wildlife subject? Thats a hard one if I had to pick one I would probably say Eagles in flight. Your favorite wildlife location? Another hard one. Most of Alaska, brooks falls, Glacier Nat Park, Yosemite Nat Park, Sanibel Island and I could go on LOL. Most dangerous shot? Cougars and Grizzly bear Images. Luckiest photograph you captured? The male cougar nestled in Fall leaves perhaps??? Most memorable? All of them make me feel very lucky, it might be the Eagle in flight shot . Technique tip? When shooting birds in flight one should compensate for exposure by at least 1-2 f stops open. Equipment tip? Never used compressed air to blow dirt off a lens mount as you will only push deposits deeper into the lens. BIO
For over three decades I have created compelling photographic images for the fine art and commercial arenas. A short list of clients includes, Forbes Magazine, Popular Science, Sierra Calendars, House and Garden, Better Homes, McMillan Publishing and Random House. Fine Art Exhibitions include an exhibition in the National Museum of American Indian NYC and the Martin Lawrence Gallery in New York City. Graduate of the prestigious School of Visual Arts in New York City’s Bachelor of Fine Arts program. As a fine art nature photographer I endeavor to create images of natural subjects that communicate through light, color and structural composition. My camera is the paintbrush and nature provides all the pigments in my work. My mission as a Photographer is to take some element of the subject I experience, perhaps it is a feeling or a sense of wonderment. My intention is to share as much of this experience or feeling with the viewer that I can. This feeling could be the unbridled spirit of a young Eagle soaring for the very first time. I want my work to communicate to the viewer in its purest expression without pretense or an agenda. This is what I strive to do with each image I create. Visit his website
0 Comments
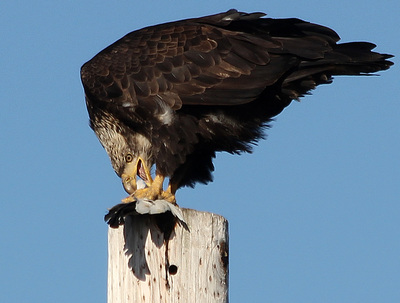
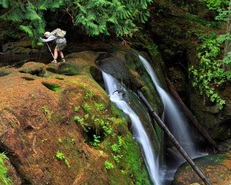 An Interview with wildlife photographer, Sammy Catiss by Karla Locke Why wildlife? It’s the one thing that connects me. Growing up in the foothills of Mt. Rainier, I have met most every critter we have at one point or another. Learned when to hold still and when to back away. I’ve never been afraid of anything wild but have always respected it. My first Wildlife photos would have had to have been the deer, rabbits and squirrels that frequented my property, which was sat way out on the edge of the foothills. I remember, and still have the shots I believe, of a Flying Squirrel that would climb into a box I had put up for him with a clear front to watch him eat. He would climb in and shut the top hatch so he could eat while being dry. He could care less if I got up close to him with the camera. And the wild Turkey that was infatuated with my chickens. My favorite wildlife to photograph would be birds. No question about it. They are a challenge. They challenge all part of photography as they are quick and the settings frequently need changed. Which is kinda funny since I guess when I was a little kid, I used to be afraid of feathers.. so I’m told. Favorite Location. I love to photograph the Skagit Valley the most. It offers so much in the way of birds, barns and fields. Sunrises and Sunsets, the valley has it all in one place. Three days of the week, you can find me here. The most dangerous shots I’ve ever taken probably shouldn’t be mentioned as I wouldn’t recommend it. Sometimes we take risks to get the shot we want. I’ve always gone prepared with the settings and get the shots and back to safety. I have never taken risks without considering all that could go wrong. As well as, I never have done this alone. Making sure the one thing safe is the keys and the phone. Understanding that you should always respect nature and the rules that are set up to keep you safe. The luckiest shot I’ve ever gotten, was just last Winter along the Stillaguamish river. On a photo tour, we had stopped to watch the many Eagles flying up and down the river. At one point, an Eagle flew in on the snag that we were standing by. We were not hidden from view and I truly thought it was going to land on me. Actually stood there and let me back up enough to get it in focus. It was a great shot in perfect light, something that doesn’t happen enough. The most memorable shots I’ve taken are probably the times I’ve got to witness the baby birds just after leaving the nest being fed by the parents. They are fun to watch as they wait for Mom or Dad to bring food. This year my favorite fledglings to watch has been the Lazuli Buntings and a family of Osprey. The best technique I can offer up, keep up your speed up so that you can be ready for the surprise opportunities without fumbling around. Whatever you shoot, have a preset idea of your settings so you don’t have to make drastic changes. Shoot a photo as soon as you get to where you are, check the photo and adjust. It’s a good starting point. The best thing you can do is know your equipment. Experiment and test its boundaries whenever you can in a relaxed environment. Keep equipment clean. Turn it off when changing lens’ and keep it dry. There is no ‘best’ brand or way to shoot, so relax and keep it fun and challenging. BIO:
I am Sammy Catiis. I’ve been doing photography for 35 years. Starting out with Sunsets and film, to the digital age with portraits and to the love of birds. I’ve served as a board member on two different chapters of Audubon Society, as well as, 2 years of Ornithology through Cornell University. Even though I do portraits for added income, my love for nature and birds drives my photography. Growing up in the Pacific Northwest, my life has always revolved nature and it’s many changing ways. Through the mentorship of an extraordinary photographer friend, and teaching others what I learn, I continue to exceed my own expectations. Visit her website.... 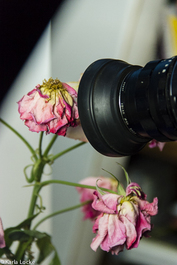
Fun With A Vintage Lens On Your Digital Camera
I’m not sure how or when it started, but I have acquired a collection of vintage 35mm lenses, along with several film bodies and a Mamiya 645 medium format film camera with three large lenses. It started when friends and acquaintances had no idea what to do with their old cameras. Some would ask me to list them on eBay or Craigslist, others would just give them to me (mostly to just get rid of them without the guilt of throwing them away), telling me to either sell or just get rid of them. I kept a couple of the older, unique cameras. They’re not worth much today but they are fun to have. I also kept some of the unique vintage lens. Unique, in that they are very sharp, and 100% metal. All have a manual focus and a manual setting of aperture. My current collection consists of; two Leica lens – a 50mm f2 and a 400mm f4.5, three Pentax lens – 35mm f2.8, 50mm f1.4 and 75mm-235mm f4 zoom. My body is a Canon DSLR, this means I need an adaptor ring to use the older lens. Each manufacture or lens model will require a specific adaptor ring. The two Leicas, each have a different original mount, which requires a specific adaptor. While the Pentax has the same mount, so I can share one ring amongst them. Attaching an adaptor ring to a lens allows it to mount to a DSLR. When searching Amazon & eBay, type in the keywords of the lens manufacture, what type of camera body you would like it to fit, followed by ‘adaptor ring.’ There are several manufactures with prices as low as $2 or $3 up to $250 or more. I generally aim for something in the middle. I have had very good luck around the $10 range, even knowing it may be a hit or miss scenario. But that is part of the fun challenge. The problems to avoid with the cheap ones is–reliability. No one wants an adaptor ring falling apart, allowing gravity to suck the lens down to the ground. Or worse yet, the ring jammed so tight, it can’t be removed. If it is stuck to the lens, that’s not too bad, but if stuck to the camera, it could cause some damage and/or be expensive to remove. When trying out a new adaptor ring, to test it, I will attach an extension tube to the vintage lens first. I would rather sacrifice an Extension Tube than a camera body if the adaptor ring is bad. I wiggle both sides, checking for tightness, looking for gaps that may produce light leaks, then take them all apart. I then repeat this process a couple more time, inspecting the ring after each fitting. Some things to be aware of As the lens was originally designed many years ago for a specific model(s) of cameras there will be some differences from what was the distance from the lens exit to the camera’s film plane originally, to what is now the distance to your sensor. Adding a thin adaptor ring adds to that distance too. Also, though not as important, older lens were designed for 35mm film, which is fine if you are shooting with a “full-frame” sensor, but when shooting with an APS-C sensor it will have the the same “crop-factor” as any of today’s lens. You will also find most vintage lens will not focus to infinity on your DSLR. It is that “lens exit to sensor distance thing.” Not usually a big issue, just one I have learned to live with. If needed, I experiment and found I am able to focus just short of infinity and set the aperture to f20 or so. There are two other “fun factors” you encounter while shooting with vintage lenses; 1) Learning how well you can actually focus on your own, after being spoiled with Auto-Focus. Also, many older cameras had a focus-screen or split-screen in the viewfinder that aided in focusing. You will not have that now. 2) Learning to work with and/or remember to set the aperture before tripping the shutter. Your depth-of-field and/or exposures will be wrong if you don’t. The trick is simple. For focus make sure the Diopter adjustment on your viewfinder is set. It is a very small wheel, just to the side of the viewfinder, which adjusts the viewfinder optics to your eyesight. Using a standard auto-focus lens, have the camera focus on a subject, then slowly adjust the Diopter wheel until that item looks tack sharp to your eye. Make sure you don’t bump it afterwards, as you will no longer be able to do a manual focus. I’ve just learned to remember my setting is “4-clicks” counterclockwise from the stop. Now, practice manually focusing with your vintage lens. For aperture settings and metering, set you camera to Aperture Priority. Leave the aperture wide open while you focus, allowing you to see more light. Then, before shooting, rotate the aperture ring to the desired setting. The camera’s meter will adjust itself for the amount of light available with that aperture setting. There are several models that include a Focus Confirm Chip, not to be confused with true Autofocus. They help activate the “Focus Points” you normally use, except now you have to move the focus ring yourself. I have heard good things on a few of them, but have never tried them myself. I could see how that could be handy, but I have learned how to rely on the old fashion way of focusing through the viewfinder. 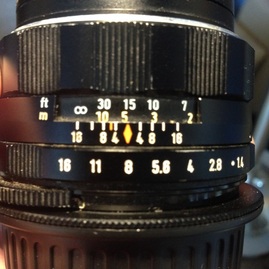
Most vintage lenses include brightly painted focus marks and equally bright aperture settings on the barrel. Makes them look “cool.” Learn to use them to speed things up. It is how it was done “in the ole’ days.”
The Zone Focus technique allows you to prefocus and preset the aperture. Great for street photography. Here is my technique, try it then adapt for yourself. First, adjust the focus ring, using the focus marks on the lens to quesstimate your zone, for example 15ft. Make sure you are using the foot markings and not the metric if you are in the U.S. Next, set the aperture ring to say f8 or f11. Now, via the DOF scale, as you can see on this Pentax 50mm f1.4, DOF will be from 10ft away to about 30ft at f8. Going to f11 will increase that DOF from about 8ft to about 35ft, but at the same time, require twice the shutter speed, which is fine if you have enough light. As usual, make sure to keep an eye on the shutter speed to make sure they are fast enough, i.e. 1/50th or faster for a 50mm lens, to still be hand-holdable with out motion. Learn the “rules,” learn which rules can be broken and what happens. Learn how far you can push the “boundaries,” and keep experimenting.
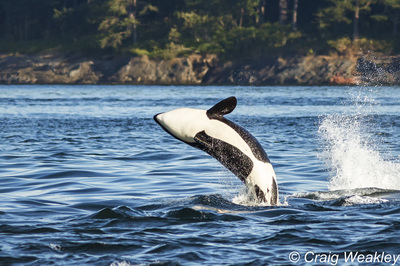
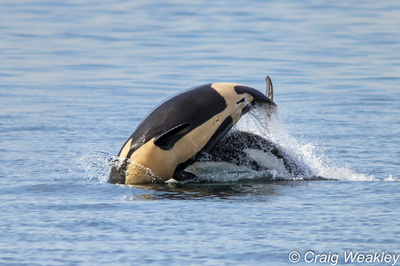
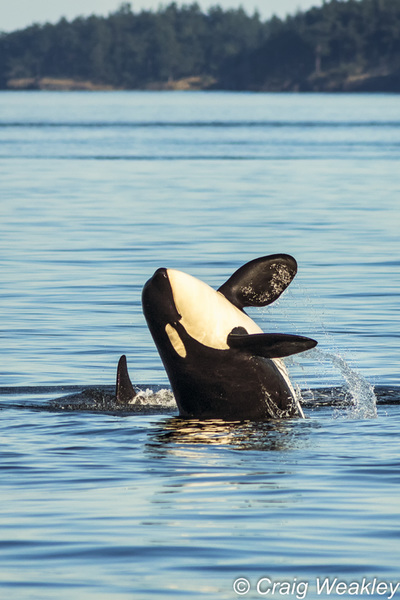
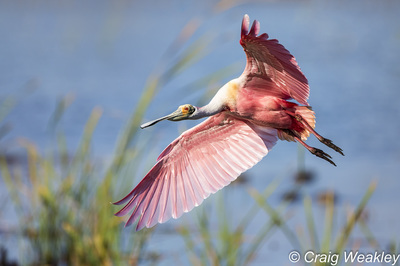
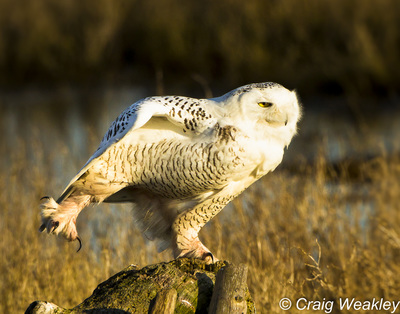
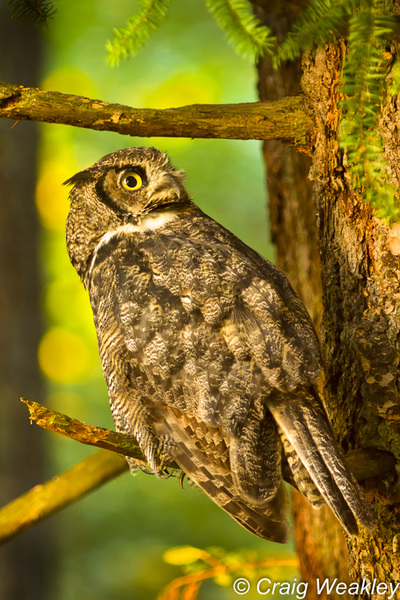
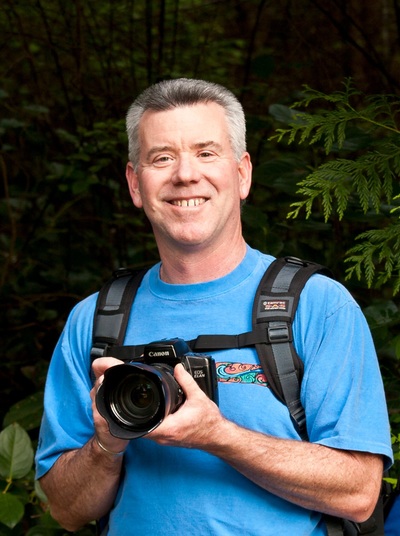
By Karla Locke An Interview with wildlife photographer, Craig Weakley.
Craig Weakley, Nature Photographer
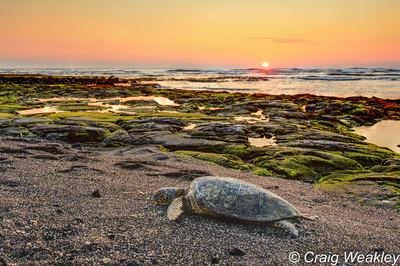
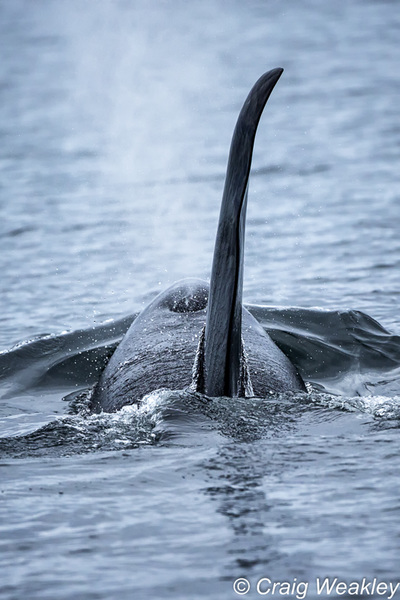
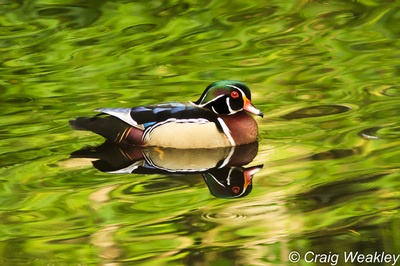
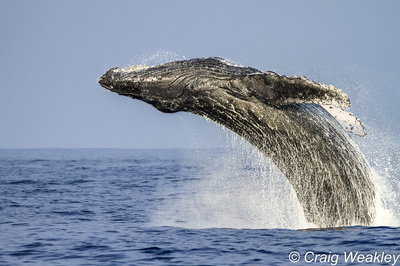
ColorVisionWorks Photography I stand in awe of nature’s beauty. Nature, God’s creation, has been an inspiration to me since I was a child – my grandma, Nana, loved wildlife, flowers, and forests and taught me to appreciate nature very early in life. As an adult, I experience God most closely when surrounded by the amazing beauty and biological complexity of His creation. My appreciation of nature led me down two paths: a technical career in the organic foods industry and, in retirement, a creative nature photography business. I have a Bachelor of Science degree in Environmental Toxicology and a Master of Science degree in Plant Protection & Pest Management – both from U.C. Davis. This academic training in agriculture, environmental science, & ecology lead me to the organic foods industry. For more than 20 years, I had the pleasure of working directly with organic farmers and playing a key role in building two of the most successful organic brands in the food industry: Muir Glen Organic Tomatoes & Cascadian Farm. My love of nature also led me to photography. For more than 25 years, my passion for photographing wildlife & wild places has allowed me to intimately experience nature’s beauty, to deepen my faith, and to share both beauty and spirituality through my photographs. My goal is to use stunning photographs to connect people with nature’s beauty and to inspire them to take actions to protect wildlife and wild places. I live in Anacortes, WA with my wife, Claudia, our two golden retrievers, Monroe & Hartney, and our little black cat, Alice. I have had the joy of photographing the amazing wildlife and the beautiful landscapes of the Salish Sea since 1995. I gain the most pleasure behind my camera when photographing our Southern Resident Orcas. I also enjoy capturing images of our local marine birds, waterfowl, raptors, and island sunsets. My photographs have been published in Nature Photographer magazine, the book, The Salish Sea: Jewel of the Pacific Northwest, and The Whale Museum’s 2010/2011 Calendar. My photographs are licensed through the stock photo agency, TandemStock.com. |
AuthorPhotography and photographers... A look at both. Blame it on the light. Archives
June 2017
Categories
All
|
 RSS Feed